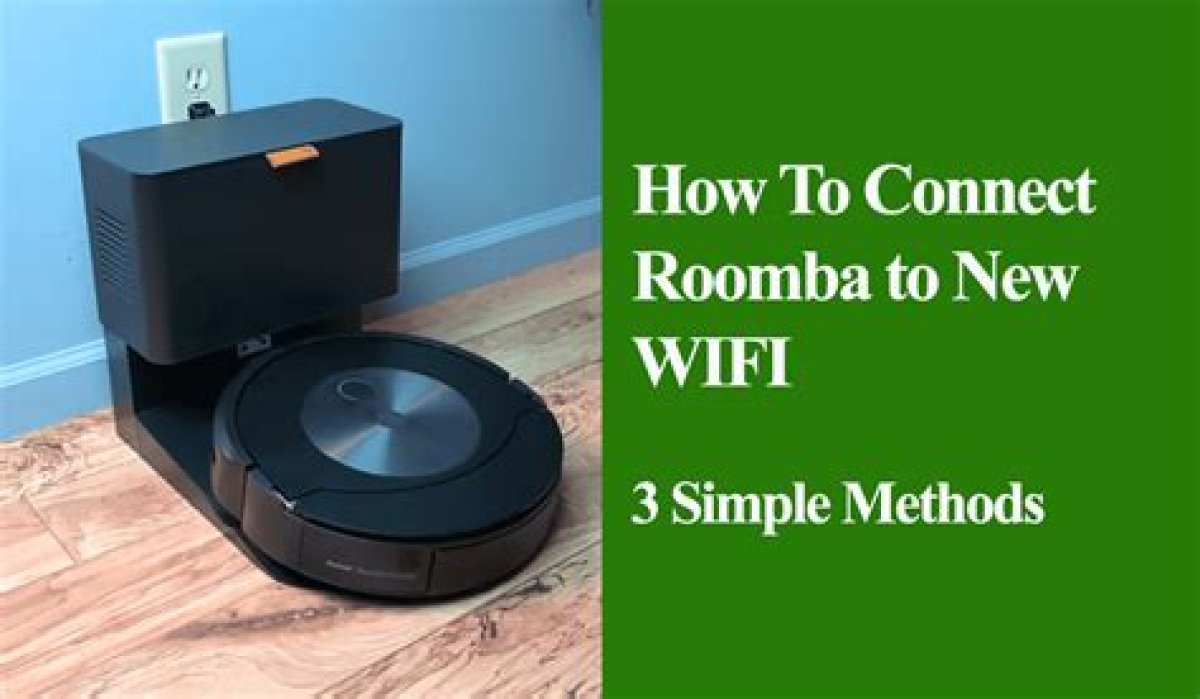
Today’s Roombas are seriously impressive machines, with the ability to map out rooms, dodge obstacles, recharge themselves, and empty their own bins at their charging station. But many of these features, especially commands, require an internet connection.
That’s why getting your Roomba set up should always begin by connecting it to your Wi-Fi network. Don’t worry — the process is easy and includes plenty of interactive instructions. Here’s how to connect a Roomba to Wi-Fi.
Download the iRobot Home app
Now that you have your new, shiny Roomba ready to go, start by downloading the iRobot Home app (not to be confused with the Apple Home app), which you can find available in both iOS and Android.
Be sure the iOS device is updated to at least iOS 13 and Android is updated to at least OS 7.0 for the iRobot Home app to work. If you already have the Roomba app, update it before you begin.
Place your charging station and power it up
The primary Wi-Fi connection begins with the Roomba charging station, which makes placement important. Ideally, you want it as close to the Wi-Fi router as possible while still staying out of the way — and close enough to an outlet to plug in.
The charging station should always be on a level surface, and at least four feet away from any stairs or drops. Once you’ve found the right spot, plug in the station and wait for the indicator light on the base to appear.

